Maternity Jamie Jeans
Jeans in June! And they're the Jamie Jeans by Named Patterns. That's a lot of J's.
Where to start? I think it was a previous season of Project Sewn and I kept seeing these jeans pop up in the competition. Prior to this my thoughts were "Jeans - why would I EVER sew them?". Suddenly, it was " Why WOULDN'T I sew Jeans?". Just like the first Archer shirt I made (collar! buttons!) I was a bit intimidated. But then I sat down at my machine, took it step by step and I'm so happy with the result.
But the twist? Well, my waistline isn't quite as trim as it was. And won't be for the next 9 months (give or take).

yep, that's a baby bump! I'd cut these jeans out earlier this year, but the weather was too hot in sunny Qld I just couldn't bring myself to sew them, let alone wear them. So they sat in the UFO pile. And then the weather chilled down, and all my other pants are beginning to... ahem... feel a bit tight. So what could I lose? Maternity pants are pretty pricey in Australia, and I was happy to make something that fits right!
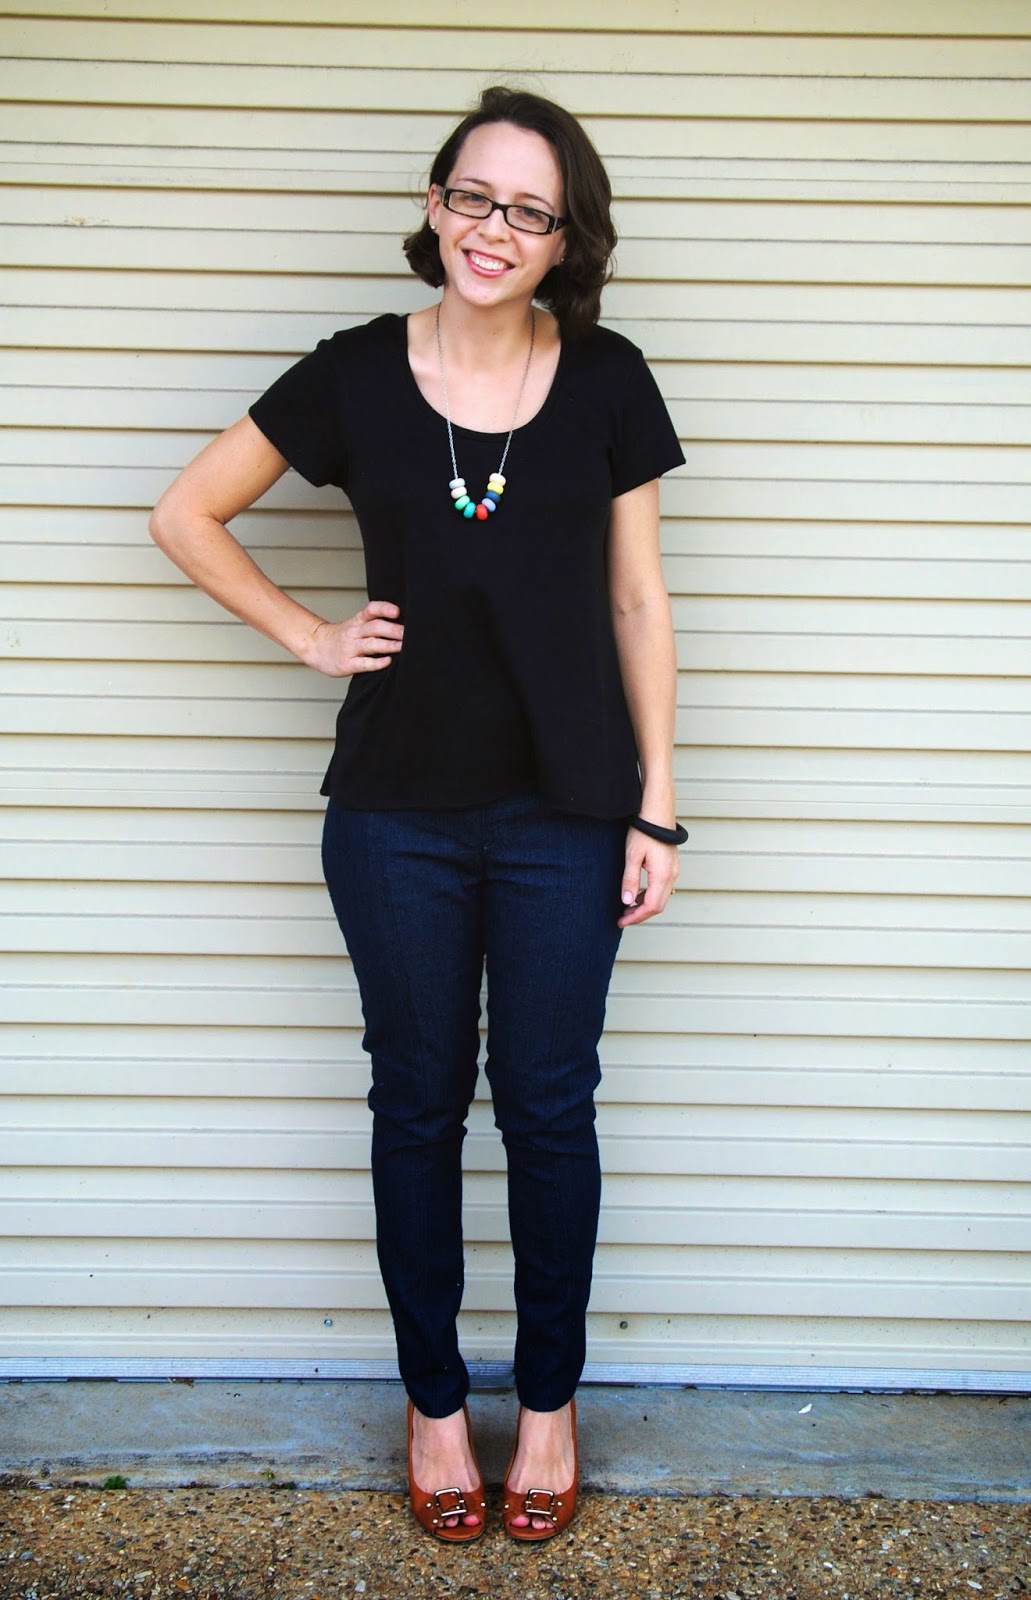
Here's a brightened pic to show the fit.

And some notes (looks like a lot, but all pretty straightforward)...
- Fabric: pretty poor quality denim from Spotlight. It's nasty, really. A bit of elastene, but quite thin & doesn't feel nice. But! It's a nice colour & the lack of quality means I won't be so precious with them and just wear them out! (not too bad anyway considering they'll have a shorter wearing life).
- Size made: size 42. My (pre preg) measurements were between a 40 & a 42 and because the pattern pieces aren't all nestled, I decided to print out the 42/44 size, and thought I'd take in the seams where needed. TIP: instead of tracing my pieces, I just reprinted the pages I'd need to make sure I could cut all the pieces out directly from the pattern. It's a few extra pages to print, but meant I didn't have to trace anything (win).
- Construction: Because I knew i'd be decreasing the front rise considerably to make a pair of jeans that will sit below the bump, I omitted the front pockets lining and just made them faux. I use the back pockets more anyway.
- I also made a faux fly front, with the low rise and the elasticated waist they are fine to pull up.
- Otherwise, I constructed the jeans as per instructions really until instruction point 9: (zipper, then waistband).
- For the waistband I added a stretch ribbing band with a loop of elastic sewn into it, using this tutorial as a guide. I lowered the front rise by trying them on and guessing what felt right. I probably skimmed a cm or two off the fly? Side seams and back remain as the pattern intended.
- Topstitching: it's a bugger. Changing the thread over every time? a bugger. I used a navy colour so if there were any mistakes it wouldn't be so obvious. But I'm happy I did it. By the time I hit the leg seams, though, I just used normal thread. And that got ripped out a few times while I adjusted the fit. Learn from me: Don't do the leg topstitching until you're happy with the fit! I thought I could get away with just adjusting the side seams, but in the end needed to take a bit from each (front and inner leg too) to keep the proportions right and the front seam central.
- Fit: These fit pretty good out of the box! I was so surprised (I don't think I've ever made a pair of trouser I'm happy with). It's tricky because the denim you use (and it's stretch factor) will change the fit considerably. For me, I took my usual wedge out of Centre Back. I skimmed the C-Curve down maybe 1/2 a cm, and maybe a cm or so out of the side and inner seams. In the end, I wore these around the house for a day and let the denim stretch (as it does) then tidied up the seams again. I hate too much of a sag in my jeans.
- As it is, I've got the whiskers at the front and they're not skin-tight, but for me with a toddler to chase around after - they're just perfect!
So there you have it. Want to make maternity jeans? Do it! Any questions, just ask. I'd definitely recommend the Jamie Jeans (maternity or not) for their lovely style and easy instructions.
PS: Photos taken with a nice, basic Plantain tee. Love that free pattern!


(apologies for bright white tummy! Wanted to show the waistband and where it sits).


The fairly messy insides (threads not chopped!). But showing the faux front pockets and fly.

